Compressing Files within Eclipse on OSX
I work in Eclipse nearly every day, and I can’t begin to tell you how many times I have needed to compress a folder or project for one reason or another. Since tools like Zip and Tar are part of OSX, it is pretty easy to configure Eclipse to package the files for me.
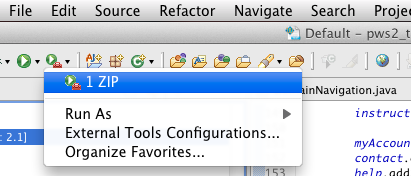
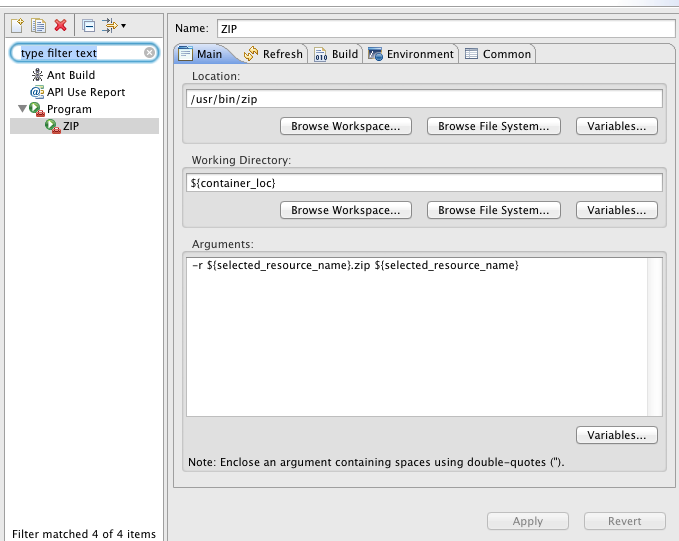
Click on the External Tools Configurations (in the menu shown) and add a New Launch Configuration (I named mine ZIP). Enter the location as /usr/bin/zip, the Working Directory as ${container_loc} and the Arguments as -r ${selected_resource_name}.zip ${selected_resource_name}.
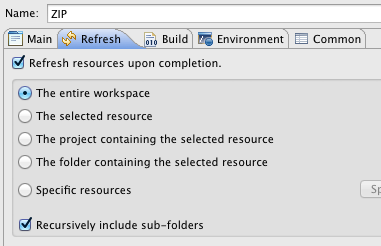
On the Refresh tab, check Refresh resources upon completion. Set it to The entire workspace or The project containing the selected resource. And check Recursively include sub-folders.
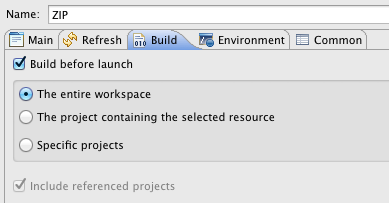
On the Build tab, check Build before launch and select either The entire workspace or The project containing the selected resource.
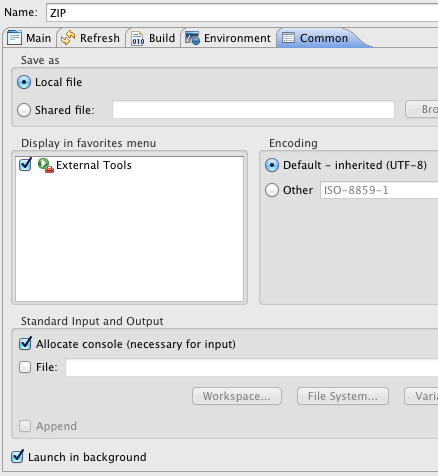
Skip the Environment tab and go straight to the Common tab. Here select Local file, Allocate console (necessary for input), and Launch in background. You can also Display in favorites menu to get the entry shown in the first image.
Now, you should be able to click on any folder in your Package Explorer, select ZIP from the menu, see the console give you feedback about what is happening, generate a zip file, and refresh the view to show the new file, all in one click!
