A Complex ProTools Voiceover Template made Easy by Reaper
Looking to leverage the real power of recording voiceover in a true DAW (like Reaper or ProTools)? Anthony Gettig put together a great video explaining his template for ProTools. George Whittam thought it was great saying, “[N]ow THIS is what Pro Tools is made for, not just a single mono track session.” So, I thought I would reverse engineer it and adapt it for Reaper.
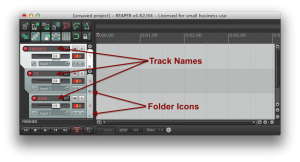 To achieve a similar result in Reaper, first make 3 tracks (using CTRL or CMD + T). Then, you need to change the first two tracks into folders and understand what the change means. Making a folder is simple, at the bottom right of the Controls Section of a track, you will see a Folder Icon. Clicking that icon, makes the track into a folder. The change is reflected on the screen by indenting the tracks below the folder, implying that the folders or tracks below are contained within the folders above.
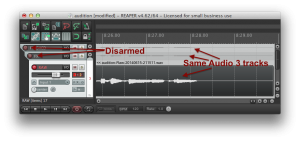 Now name them: FINISHED, FX, and RAW. And then, disarm FINISHED and FX. If you choose RAW and record at this point, you will see 3 copies of your audio appear when you stop recording. All 3 tracks will sound the same if you were to listen to them now. That’s because we haven’t told the folders to apply any other treatments to the audio. So, we are hearing exactly the same output at each point in the process.
Now, open up the Mixer Panel (CTRL or CMD + M). We are going to apply FX to each track.
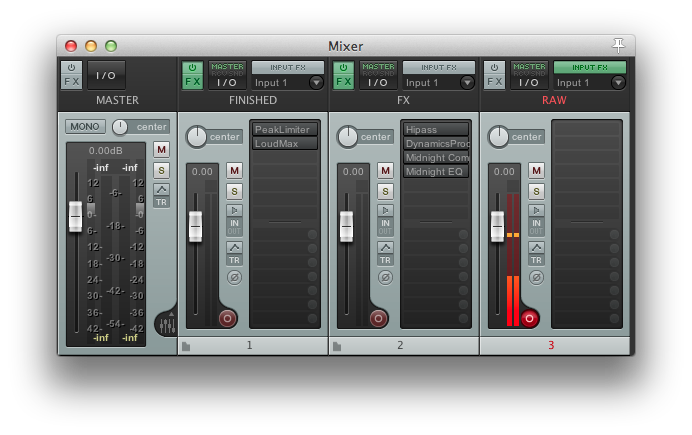
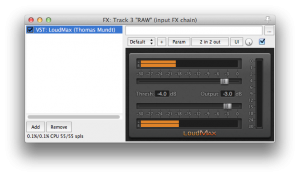 On the RAW track I add a Limiter set to -3 dB to the Input FX. This affects the track before it is recorded. I do this because I never need to be louder than -3 dB and during excited dialogue, there are times that I might peak above that (but not clip). Since this is the only modification that I make to the audio here, I still consider this track to be raw.
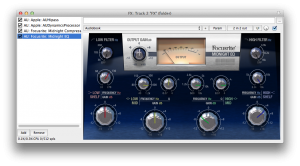 On the FX folder, I run a Hipass, use Dynamics as a bit of an Expander, Compress, and EQ. The settings I use are based upon a stack that George Whittam made for me. I have learned a lot by reverse engineering his settings.
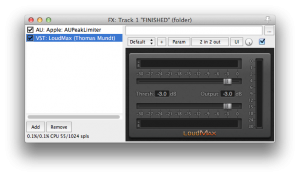 On the FINISHED folder, I put the last FX in George’s original stack his Peak Limiter, followed by a Hard Limiter set to -3dB.
Now, if you listen to the audio from each track/folder, you will hear, your raw audio on RAW, treated audio on FX, and audio peaking at -3dB (no need to normalize) on FINISHED.
But wait! I hear you say. When I try and mute the RAW track (or the FX folder), I get just silence as output! Did I do something wrong?
No, you need to think about the folder concept a bit more. If I silence the contents of a folder, the folder itself becomes silent. It makes sense when you think about it.
You might now be saying, so, how do I get 3 tracks of separate audio out of this thing?
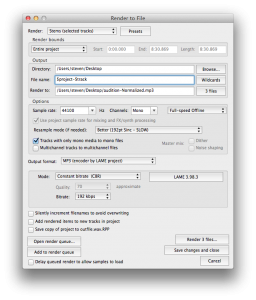 It simple really. Select all 3 tracks and press CTRL+ALT+R or CMD+OPT+R to Render your files. Be sure to choose Render Stems (selected tracks) and you might want to use Wildcards for the Filename. I suggest $project-$track as a good starting point.
As the quote from George in beginning of this article implies, to really make the best use of a DAW in voiceover, we need to move beyond recording plain mono tracks. And using templates like this one, can be both time savers and educational.
Cup of Coffee
A ridiculous amount of caffeine was consumed while researching.
Add some fuel if you would like to help keep me going!
Click here to give whatever amount works for you and thank you 🙂

